
Getting started#
Create an agent with a clear job, then start a conversation. You can add schedules, files, and a shared computer when the work needs them.
1. Open your Roost installation#
First choose a host in Deployment. The recommended VM path is exe.dev; platform guides also cover Linux servers, macOS, and the limits of managed/serverless hosting.
Follow Install and operate Roost for a Linux x64 host with systemd. The release bundle includes Node and Codex. Open the local address printed by setup, or connect through the SSH tunnel in that guide.
For a source checkout, follow Development. Source builds need Node.js 22.13 or later, pnpm 9.15.0, and a separately installed Codex CLI.
Protect your app with native passkey login, an SSH tunnel, or an authenticated reverse proxy. exe.dev continues to handle sign-in itself.
2. Connect Codex#
Open Settings → Account & security → Connect Codex, copy the one-time device code, and follow the OpenAI sign-in link. Enter the code to connect the installation. You can complete sign-in from a different computer; no localhost callback or SSH login flow is required.
The Codex login is shared by agents on this installation. Available models come from the installed Codex executable and your account. If the connection expires, use Reconnect Codex. The installation guide also covers terminal sign-in.
3. Create an agent#
Choose Create an agent. Pick a character, give your agent a name, describe what it should help with, and choose an available model. For example:
Research products I am considering. Compare practical tradeoffs, keep source links, and give a clear recommendation. Ask for my budget when it matters.
Press Create agent. This saves the agent and its workspace; it does not start a task or schedule background work.
4. Send the first task#
Open the agent's conversation and describe the result you want. Include the context and constraints it needs. Attach files beside the composer if useful.
Replies and activity update live. Stop cancels the selected queued or active run. You can close the browser and return later; server-owned work continues while Roost and its host remain running. If the server restarts during a run, that work is marked interrupted and is not automatically repeated.
When an action needs permission, a review card appears in the conversation. Approve the exact prepared action or decline it. See Files and approvals for supported inputs, downloads, and approval behavior.
Use Reply in thread on a message to start a focused thread. Send a follow-up during an active turn to steer that conversation; work in other conversations waits its turn. When reading earlier messages, the return-to-bottom button takes you back to the latest reply.
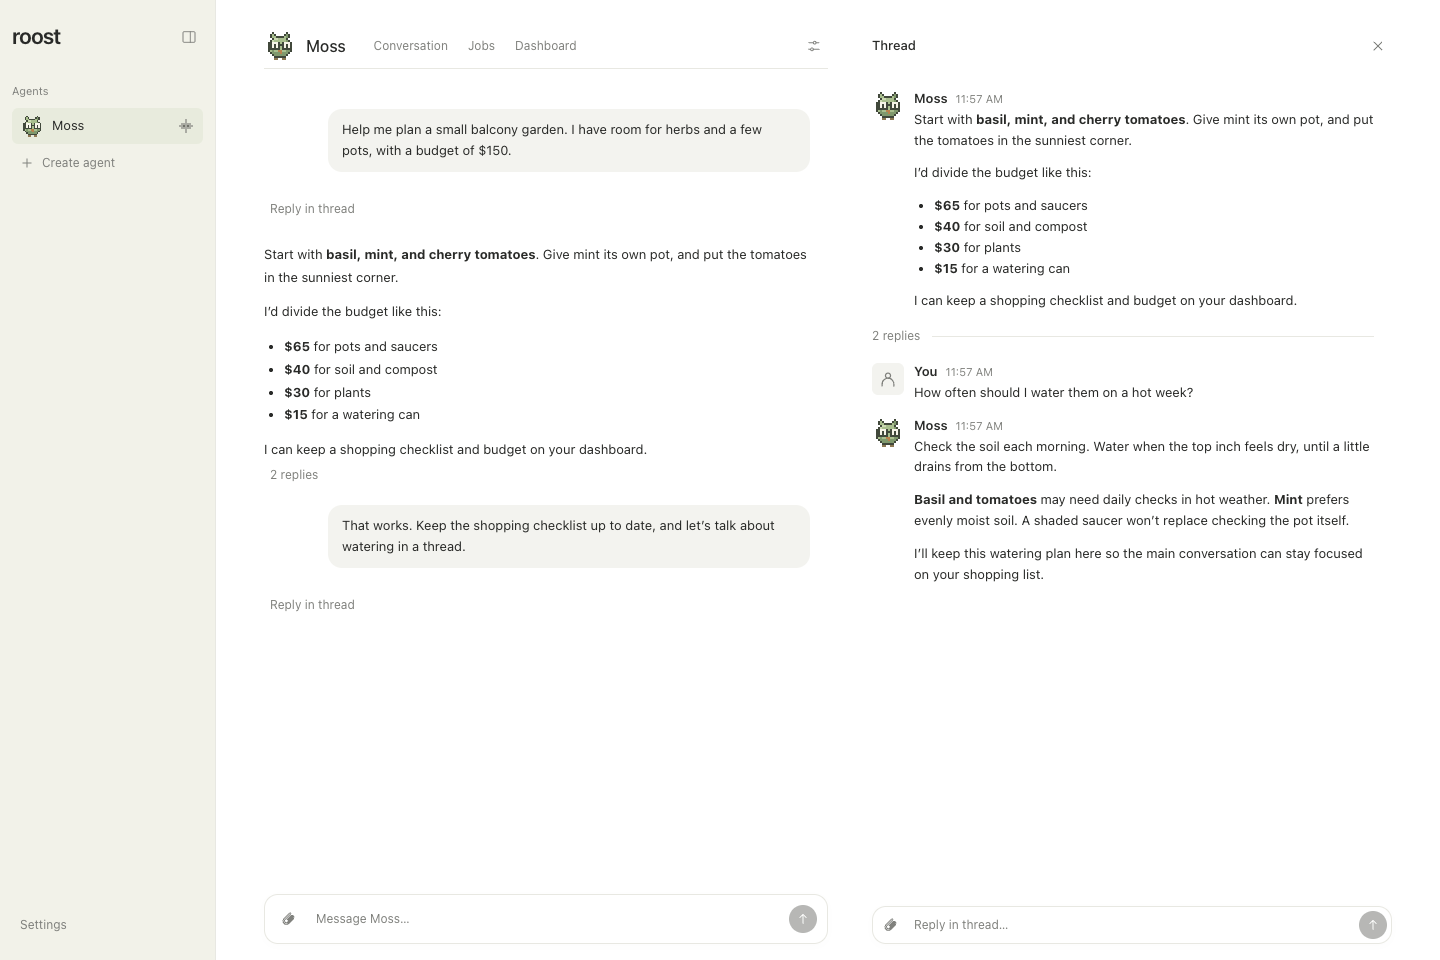
Real Roost interface with fictional sample data. Select the image for full size.
5. Make it useful over time#
- Open the agent's settings to edit its Soul: its purpose, voice, and lasting behavior. Changes take effect on its next turn. See Agents and memory.
- Ask for a schedule, such as “Every weekday at 9am Pacific, check this project for changes and tell me only when something needs attention.” Review it in Agent settings → Automations. See Automations.
- Give another agent a specialist role, then ask an agent to delegate a focused task to it. See Delegation.
- Open Feed → Sources to follow publications and choose your interests. An optional contributing agent adds sourced stories and, with your opt-in, important email updates.
- Enable Settings → Appearance → Dashboards for interactive trackers. Add a to-do list, calorie log, or weather card, then ask the agent to show it in chat.
- Choose Coding agent when creating a project coordinator, then follow coding agents and Jobs workspaces for previews, feedback, and review.
- Open Settings → Appearance to preview a color theme and choose your response style.
- Set up notifications on each device and connect the native iPhone app or add Roost to your home screen.
Browser control needs a separately configured Linux X11 desktop. Follow Shared computer when you want agents to work in a signed-in browser you can watch and control.